Friday, March 16, 2012
Dentist Check Up
Wed, March 14, 2012 Bayleigh went to the dentist. Perfect check up, still in the no cavity club!!! Yay! Her 6 year molars are all in now, so we go back over Spring Break to out sealants on them. :)
Monday, March 12, 2012
Glass Calendar with Magnets!
So, Pinterest stricks again! If I am not careful, I am going to be broke by all these craft ideas! This time, I have taken a couple of ideas on there and changed them slightly and combined them to make them my own. The original calendar and magnet ideas can be found by clicking those words, but onto my creation....

Now, I have to tell you that this is not a completed project. I still have a few things I want to do, but 1. I don't have the time right this moment and 2. I need to go back to Michaels and get a few more supplies. But, it is complete enough for you to get the idea.
What I did is this:
The magnets mentioned above...YEAH, I SO put them on my calendar!!! HOW COOL?!
Here's what I did AND what I am going to do:


What I did is this:
1. Bought a 16x20 frame. (I actually bought two off of a garage sale page on Facebook for $4 each). They are normally $20 each new.
2. I used my Cricut machine to cut out 1.5 inch sqares. The original idea calls for paint color sample cards, but A. I didn't feel right just going and taking them with no plan to buy paint, and B. I didn't have time to go get them.
3. While I had the machine out I also cut out the letters for the word "Notes", and the rectangle for the month name.
4. Lay everything out and line it up how you want it. ((this took some time because it's a lot of measuring and lining and I get flustered very easily because when I want something done, I want it done now)). You can see it's not perfect, but that is SO me--not perfect! GASP, I just admitted that?!
4A. Now, while this was all being done by me...I sent the husband to the garage to paint the frame black so that it would dry.
5. Glue it down. I just used your basic Elmer's glue stick, borrowed from my daughters extra school supplies.
6. Put the frame back together and it's ready to write on!
(I used Crayola Window Markers and dry erase markers)
So, this is what makes mine different from the original concept:The magnets mentioned above...YEAH, I SO put them on my calendar!!! HOW COOL?!
Here's what I did AND what I am going to do:

Again with the Cricut, I found different designs from my calendar cartridge and cut them out using the 1 inch size. This included, the word birthday, an Easter egg, Christmas Tree, and Clover. It IS GOING TO include, The American Flag, Hearts, Presidents, School Bus, I Voted, New Years, etc. (Again, lack of time).
I bought these glass beads, for lack of a better word...they are curved on the front, flat on the back.
After cutting the holidays out on the cricut I glued them to the flat part of those bead things. Then I glued a magnet on the back of that.
Now, right now, I am using a washer to hold it in place. Behind the glass I just place the washer where I need it and then put the frame back together and then hold it in place by putting the magent on the outside of the frame and it holds, BUT--it's a PAIN in the rear!
WHAT I AM GOING TO DO IT THIS: I am going to glue a magnet on the back side of the calendar behind each square. YES, it will hold even with the squares and glass between them because I tried it out already. I am going to put it behind each square because then all I will have to do is simply place the magnets on the outside of the frame. EASY!
The next thing I am going to do is get the Cricut out again and cut out different things for the different months, such as a school bus for August and a Cross for Easter. Those are going to be placed behind the glass up by the month name just so that it's not so plain up there.
I am also going to cut out the days of the week on the cricut and place them somewhere in each row, probably staggering them vs straight across the top. I don't know, whatever looks the best when I do it.
SO, there you have it! My pinterest projects combined to make it mine! Hope you like it and hope I explained it well enough for you to make your own if you choose to do so. :)
*Sorry for any spelling errors and my poor grammar. Also, if I wrote CRICKET anywhere...it's supposed to be CRICUT! LOL!

Thursday, March 8, 2012
Making Him Famous
Please take 30 minutes out of your day to watch this video, and if you do nothing more--please, please, please, share this video with your family, friends, coworkers, neighbors, anyone that will listen really. This man is a monster. The following picture is a link directly to the mission site. The video is just below that. Thank you!

Tuesday, March 6, 2012
4th Tooth Lost
Tonight while at dinner, Bayleigh lost her 4th tooth! It's the front tooth, on the top right when you're looking at her!


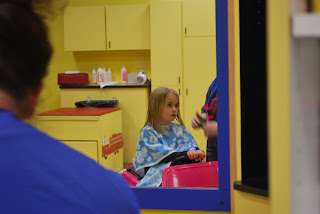
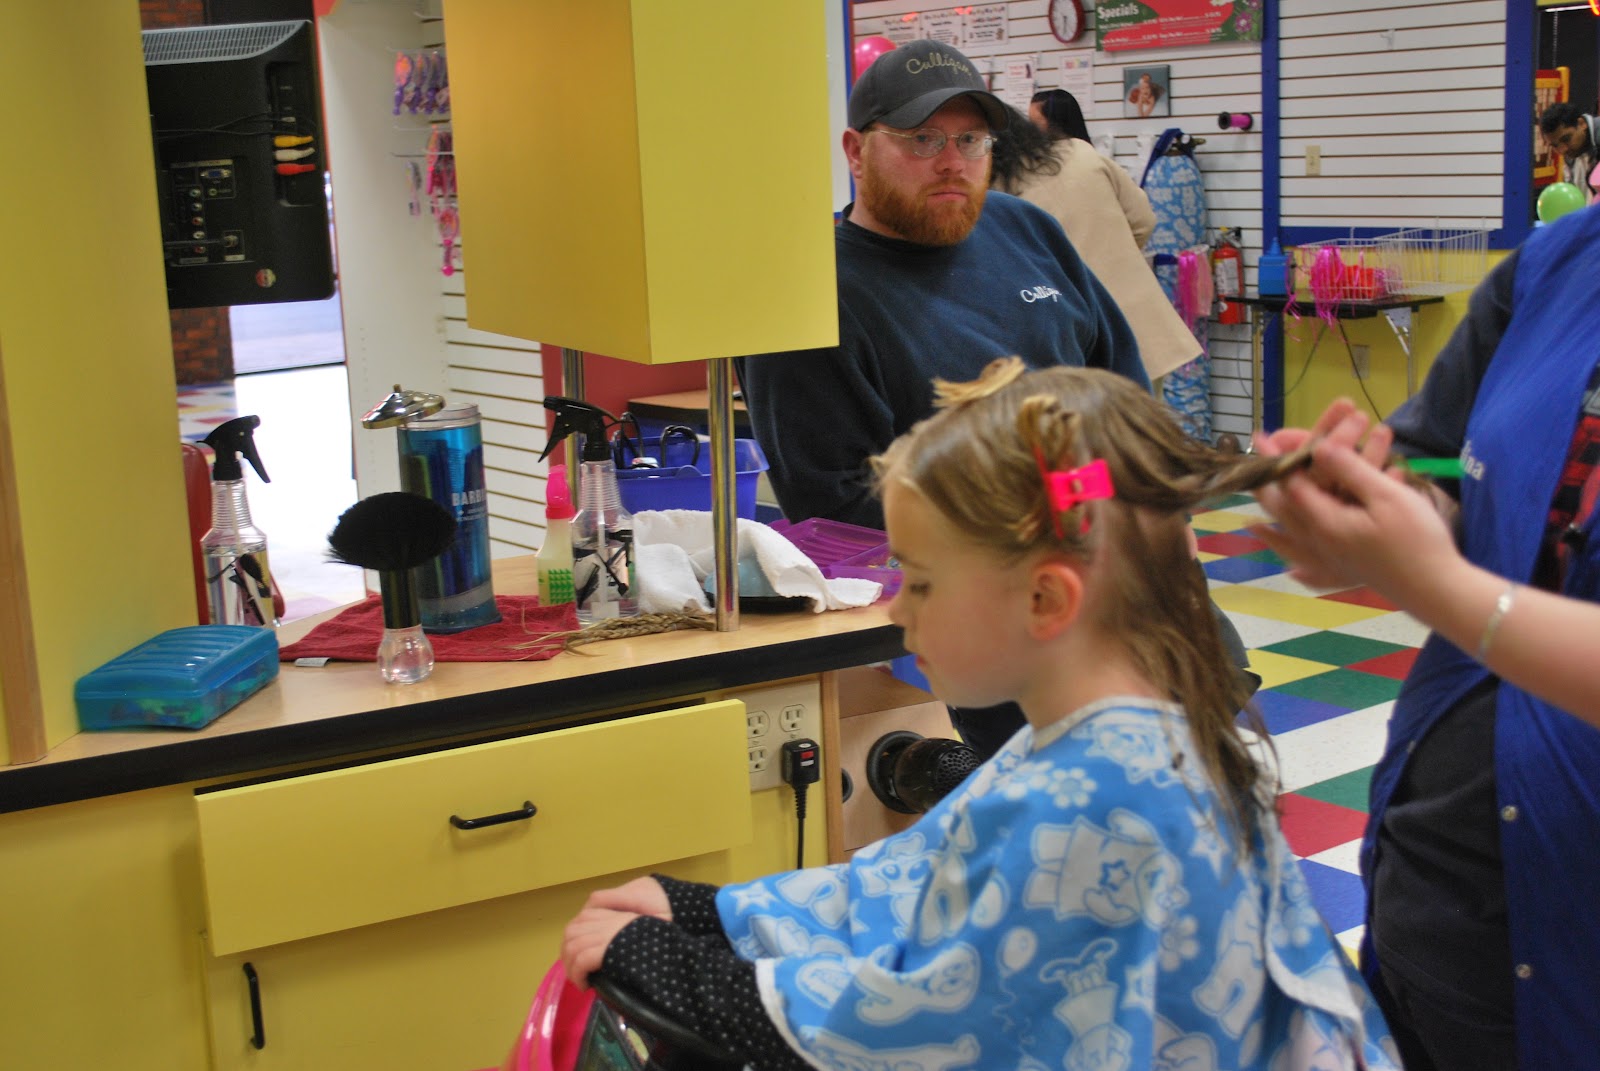
Locks of Love
Yesterday, March 5th, 2012, Bayleigh went to Greenwood to the kid's haircut place called Cookie Cutters on US 31 and got her hair cut off. The stipulation to her getting her hair cut was that she had to donate her hair to Locks of Love to be made into wigs for children with cancer. Of course cancer is something she knows about due to our good friend losing her battle with breast cancer. She was all about it.
Locks of Love needed 10 inches of hair in order to be usable. By the time it was all said and done, Bayleigh ended up donating the 10 inches and getting around 11-12 inches cut in all after it was even upped.
She was all about it! I on the other hand was a bit sad and found myself holding back the tears. Not because I am selfish, but because I was SO PROUD of her and I was sad because it made her look so much older!!! She's had that hair since she was born with the exception of a few trims here or there.
I have known about Locks of Love for a very long time. After the night before and morning of yesterday I decided I was done. Her hair is so thin and so stringy so it was time to cut it to make it healthy. We knew we didn't want it short, but we also knew that if THAT much was being taken off then enough to donate was going. Needless to say, she brushed her own hair last night after her shower and then again this morning with nothing but a smile on her face. She kept saying, MOM! It's SO easy! :) Thank you sweet Jesus for a great morning! :) OK, OK, OK, you want pics--and I have plenty of them. Enjoy!


We went to Grammy's after to eat dinner and Grammy let her play on the computer!
Subscribe to:
Posts (Atom)


